How to Create Wallets
Creating wallets using Rimplenet Plugin

Stephen
Last Update 5 jaar geleden
Step 1
Login to your website admin panel at www.yourdomainname.com/wp-admin.
You would be presented with the screen below. If you do not find Rimplenet Plugin in the Wp Admin menu interface at the left side of your screen, it could be that Rimplenet is not yet installed. Click here to learn more about installing Rimplenet
Before Login
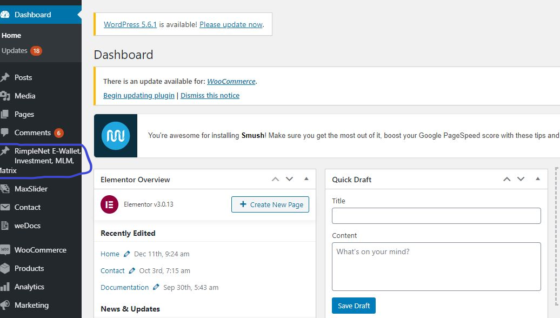
After Login
Step 2
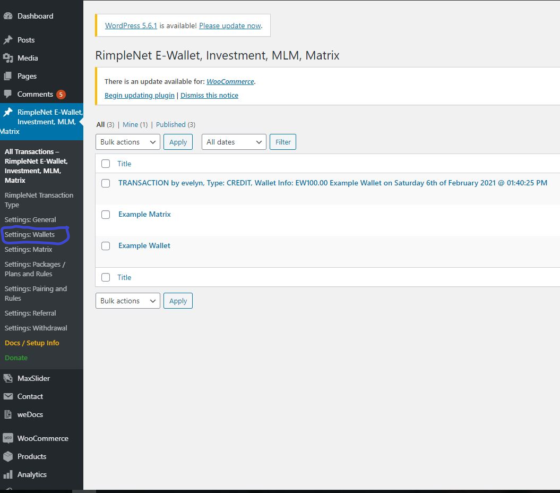
Click on Rimplenet, then proceed to clicking Settings : Wallets as shown on the screenshot below.
Step 3
Scroll downwards to Create New Wallet, carefully fill in your details in the various form fields.
see screenshot below.
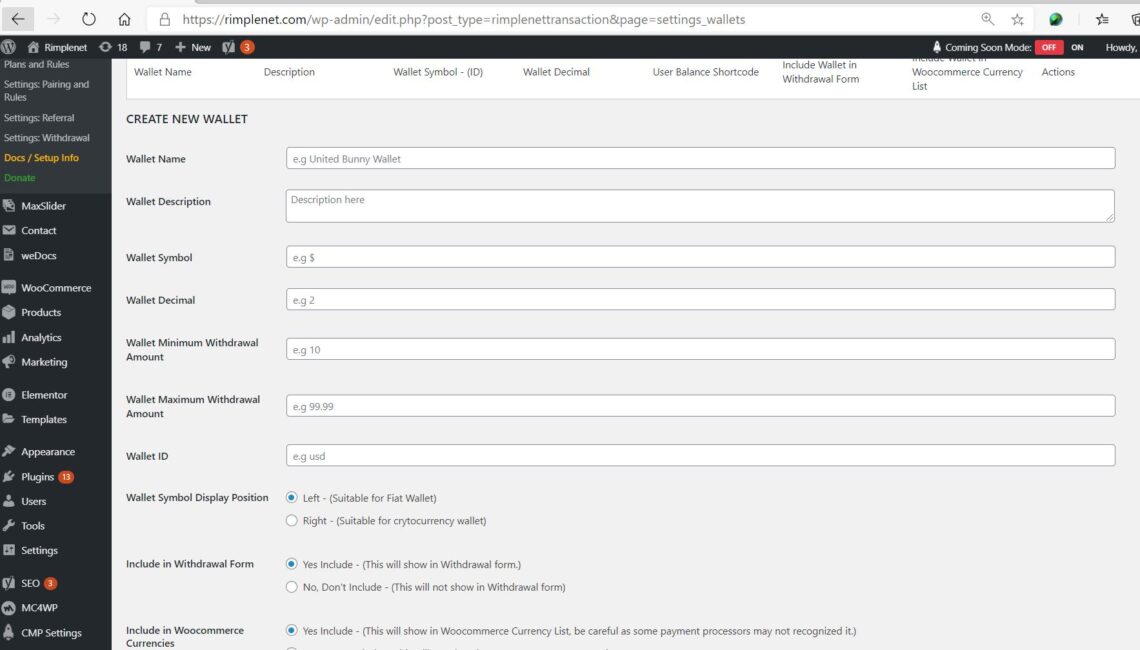
Screen 1
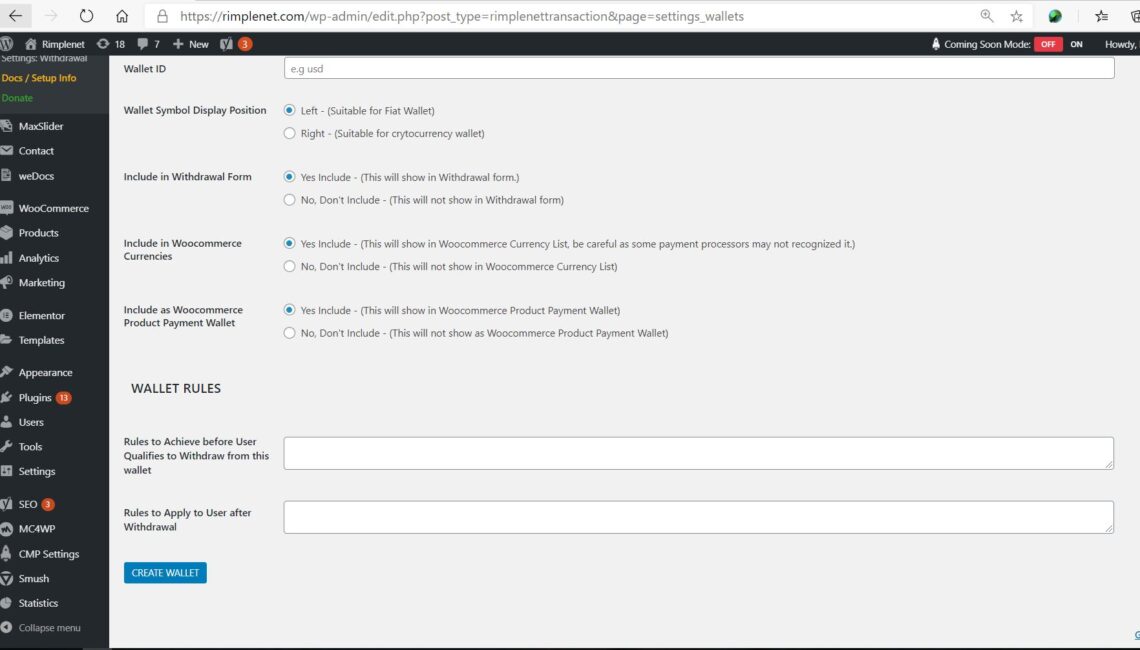
Screen 2
Wallet Name: This is the name of your wallet. For example, United States Dollar, Nigerian Naira, Ghana Cedis, Bitcoin, Ethereum, Doge.
You can also use arbitrary names like – Savings Wallet, Loan Wallet, or Referral Wallet. Your choice of Wallet Name depends on your use case
Wallet Description: Write a brief description of your wallet. For example, Wallet for US Dollars, Wallets for Monthly Savings.
Wallet Symbol: A graphical representation that denotes the name of a currency. For example, ₦ (For Nigerian Naria), $ (For United States Dollar), BTC (for Bitcoin).
Wallet Decimal: Only integer numbers are accepted in this field. 8 (For Bitcoin), 18 (For Etherium), 2 (For Nigerian Naria), 2 $ (For United States Dollar).
Wallet Minimum Withdrawal Amount: This allows you to set your minimum withdrawal limit for a particular Wallet.
Wallet Maximum Withdrawal Amount: This allows you to set your maximum withdrawal limit for a particular Wallet.
Wallet ID: The wallet ID must be written in lower case. For example, United States Dollar will be written as usd, ngn (For Nigerian Naria), btc (For Bitcoin), eth (For Etherium).
For arbitrary wallets, you can use saving_wallet, referral_wallet, loan_wallet.
Please, kindly note that wallet rules are provided through premium service. As such, you are advised to leave that section.
If you have subscribed to our premium package, our technical personnel will guide you accordingly.
When you are done filling the form, click on Create Wallet
Your Wallets will now appear in the list of Active Wallets as shown below.
